
If you love bold accents and tiny details, a charms kit is one of the fastest ways to upgrade your manicure. This guide explains the essential terms, tools, and a clear step-by-step process so beginners can apply 3D accents with confidence.
Quick glossary: common charm terms explained
Before you start, it helps to know the vocabulary pros use when working with decorative nail pieces:
- Charm — any small decorative element added to the nail, from metal studs to resin shapes.
- Flatback — charms with a flat underside that sit flush against the nail surface.
- 3D charm — raised or sculpted pieces that add texture and dimension.
- Top coat — a clear finish used to seal and protect both polish and charms.
What comes in the kit and why it matters
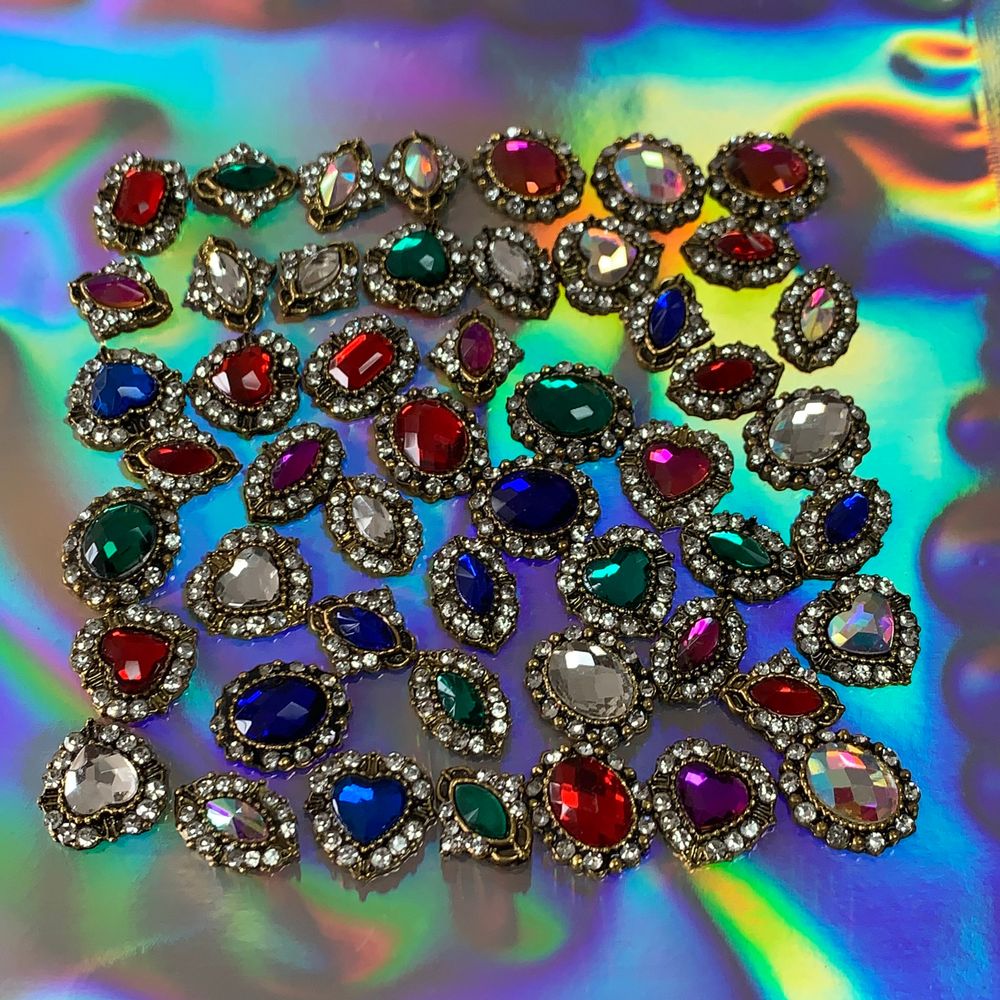
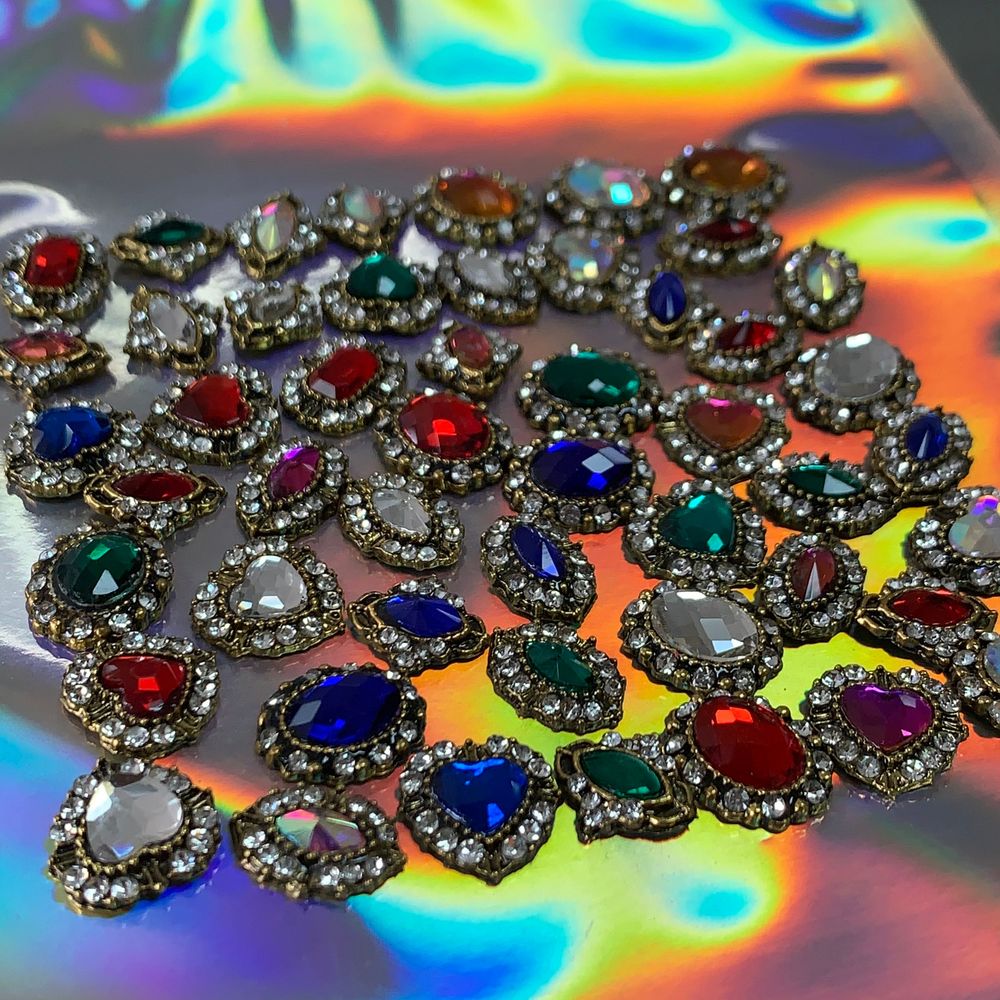
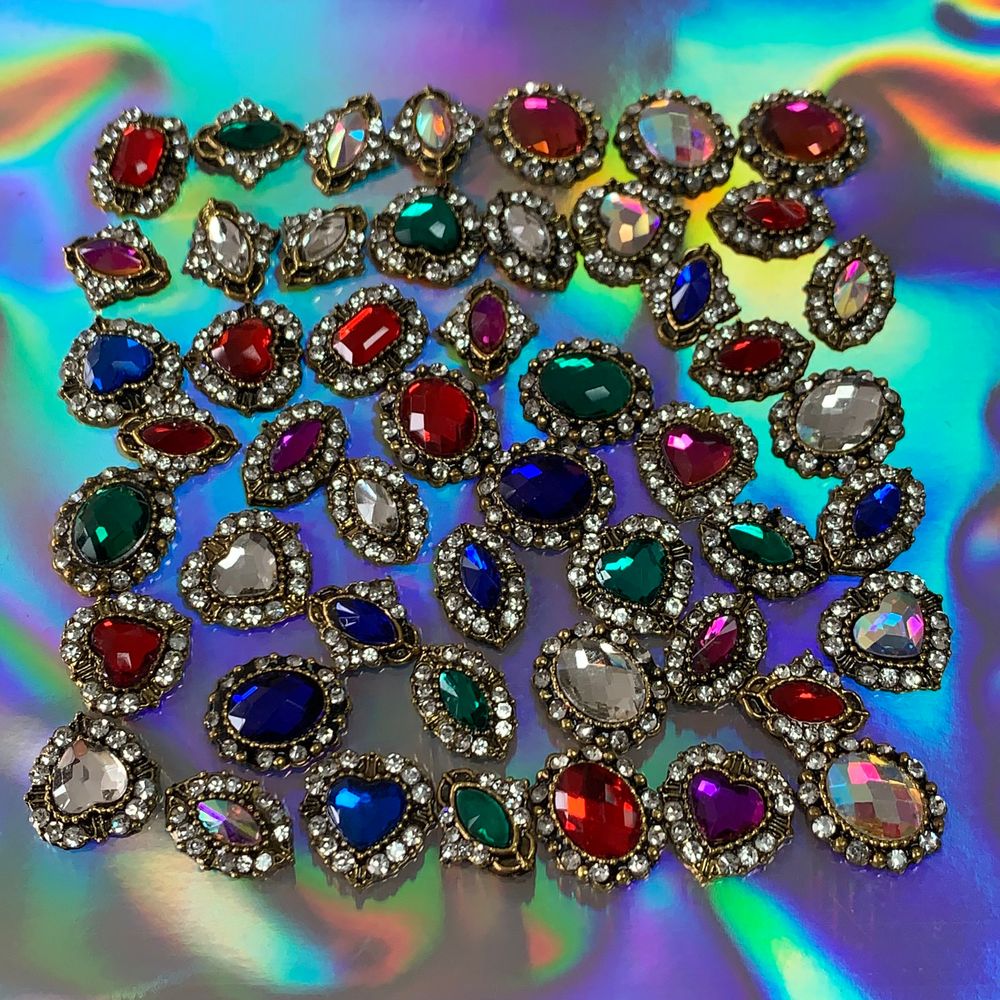
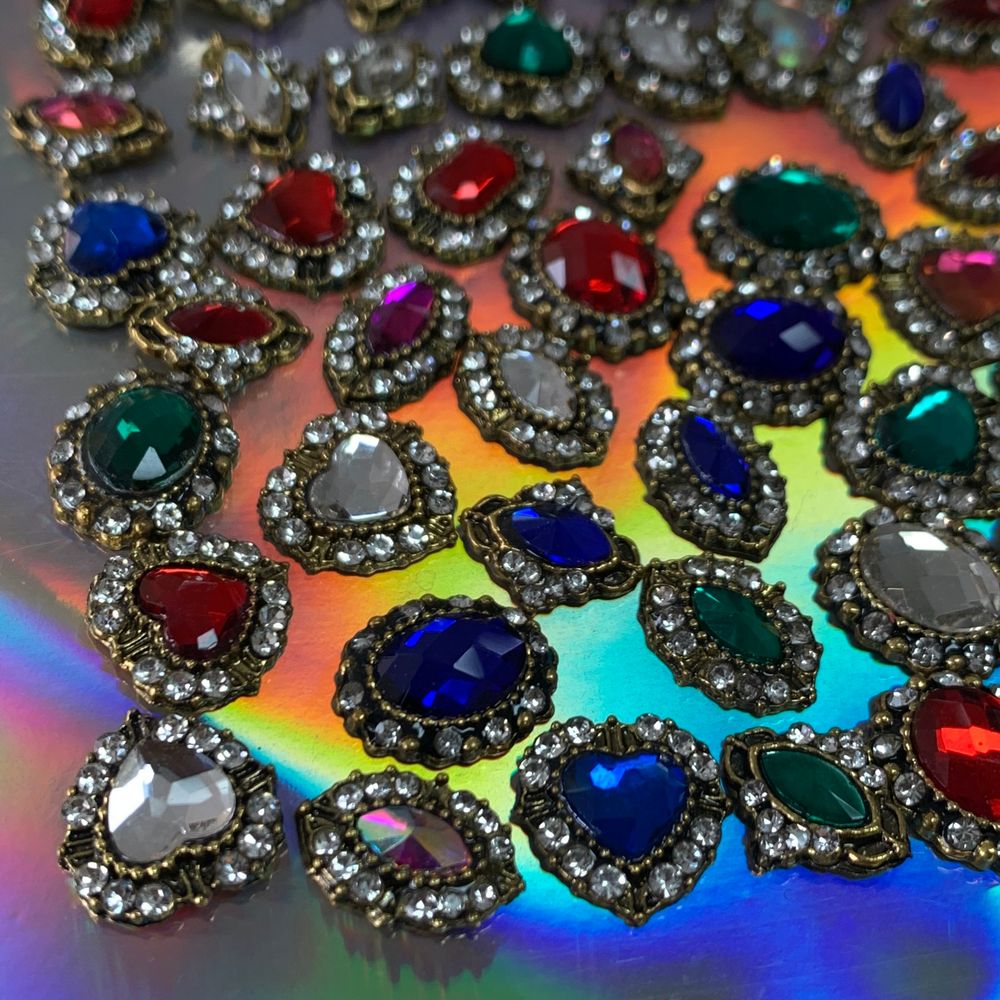
The product contains 50 pieces in different shapes and colors, giving you variety for mixing and matching accents across manicures. For a ready-to-use collection, check out this nail charms set—50 pieces in assorted shapes and colors.
Because the set includes many small pieces, it’s ideal for experimenting with placement, combining sizes, and creating coordinated looks across both hands.
Tools you’ll need (basic starter kit)
Most charm applications require only a few inexpensive tools. Gather these before you begin:
- Tweezers or a wax picker for precise placement.
- Nail glue or a builder gel designed for attaching embellishments (choose based on whether you’re working with regular polish or gel).
- Base coat and top coat to protect and seal the design.
- A small dotting tool or toothpick to apply glue in controlled amounts.
- Optional: a UV/LED lamp if you’re using gel adhesives or builder gel.
Step-by-step: beginner-friendly application
- Prep the nail: Push back cuticles, lightly buff the nail plate, and remove oils with a cleanser or alcohol wipe. A clean surface helps charms adhere longer.
- Apply base color: Paint your base polish and allow it to dry fully, or cure according to gel instructions. Plan where charms will sit so the design remains balanced.
- Dot the adhesive: Apply a small drop of nail glue or a tiny bead of builder gel where you want the charm. Less is usually better—excess can overflow around the charm.
- Place the charm: Use tweezers or a wax pencil to pick up the charm and gently press it into the adhesive. Hold for a few seconds until the piece seats securely.
- Cure or set: If using gel, cure the nail under a lamp according to the gel product instructions; if using glue, wait for the adhesive to dry fully before moving on.
- Seal the edges: Lightly brush top coat around the base of the charm (not necessarily over large 3D pieces) to lock edges and prevent lifting.
- Final finish: Give the whole nail one more thin layer of top coat if the charms are small and flat; for tall 3D pieces, avoid coating the top if it will dull the finish, and instead focus on the surrounding nail.
Placement and design tips for polished results
- Start small: experiment on one accent nail (typically the ring finger) before outfitting all ten nails.
- Think in groups: cluster tiny charms at the base of the nail for a cohesive look rather than scattering large pieces randomly.
- Mix finishes: combine metallics with colorful resin charms to create contrast and depth.
- Consider balance: mirror placement on both hands or alternate fingers to maintain a professional look.
Care, removal and safety notes
Store charms in a small container to avoid losing pieces. Because the kit contains many tiny components, keep it away from young children and pets to prevent accidental ingestion. When removing charms, do not pull forcefully—soften glue with an acetone soak or follow your gel product’s recommended removal method to avoid nail damage.
If you use strong adhesives, work in a well-ventilated area and avoid skin contact. Always follow directions on whatever glue or gel you choose; the kit itself does not specify an adhesive type.
Who this luxury nail charms set is best for
This assortment is suited to beginners who want to practice placement and mix-and-match looks without committing to a single style. It’s also useful for nail techs building a small accent library for clients or hobbyists who enjoy seasonal or event-driven designs. The set is an economical way to try different shapes and colors before investing in larger specialty pieces; it is priced at $15.00, though prices may change.
Wrap-up: fast upgrades for creative nails
With a clear understanding of terms, a few basic tools, and the step-by-step approach above, beginners can quickly add professional-looking accents at home. Start with simple placements, protect the edges with top coat, and store pieces safely to keep your charm collection working for many manicures to come.