
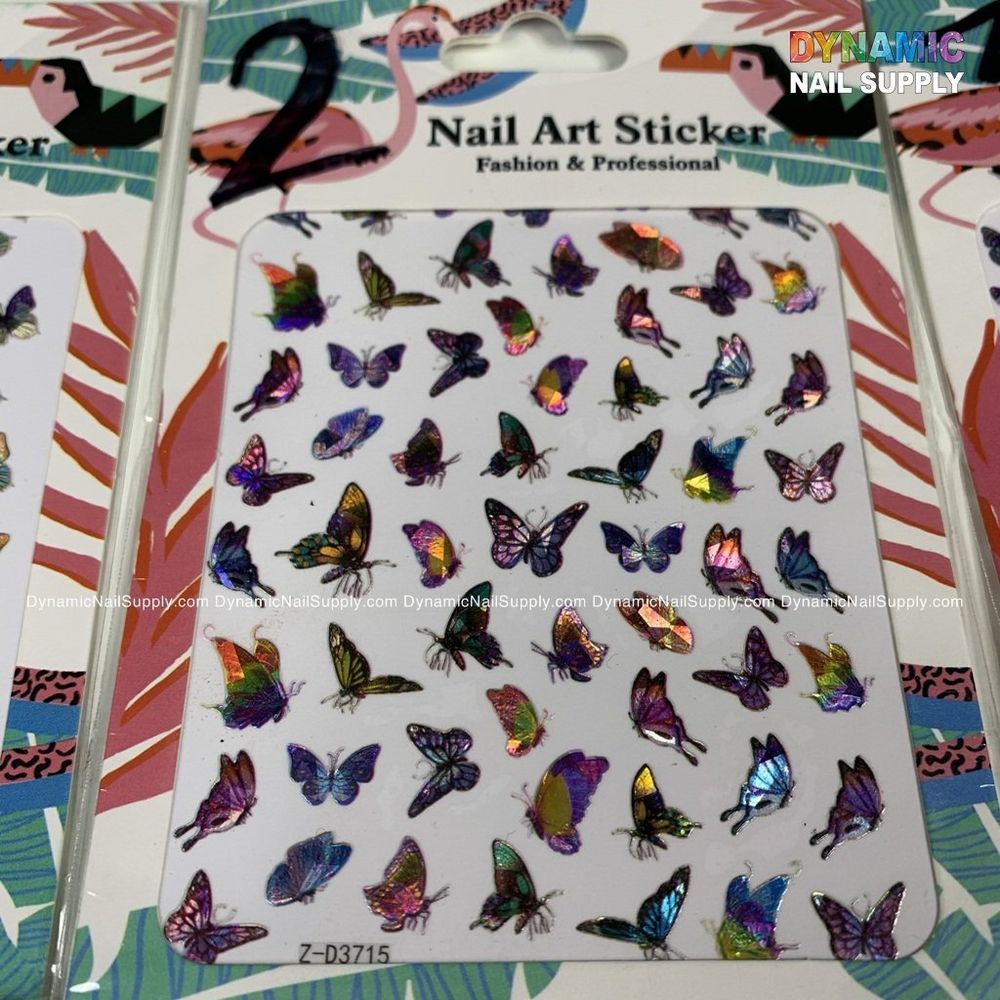
Small, inexpensive accents can change a manicure. Butterfly nail stickers are a quick way to add a delicate motif without complex tools or long drying times. This overview breaks down how these stickers perform feature by feature so you can decide whether they’re the right addition to your nail kit.
If you want to check availability and the exact pack, see these butterfly stickers for details.
Visual styling: what the butterfly motif brings
Butterfly imagery is versatile—romantic, playful or minimalist depending on size, color and placement. These stickers focus on that recognizable outline and wing detail, making them suitable for accent nails or full-coverage looks when layered across several nails. Use them to introduce pattern without the need for freehand painting.
Key practical features
- Instant decoration: Stickers eliminate time-consuming nail-art techniques and let you add a focal element in seconds.
- Compact kit: Packaged as a small sticker product, it’s easy to carry in a salon apron or beauty bag for on-the-spot touch-ups.
- Affordable: With a listed price of $2.00, they are an economical choice for trying a new design or for bulk use in a professional setting.
How to apply: step-by-step guidance
Application is straightforward and suitable for both beginners and experienced nail technicians. Follow these general steps for predictable results:
- Prepare the nail surface by cleaning and applying base polish if desired; allow polish to dry to the touch.
- Select a sticker and use tweezers or a stick to lift it from the backing.
- Position the sticker on the nail and press gently from center to edges to remove air pockets.
- Seal the sticker with a clear top coat to smooth edges and protect the design.
Tools that help
- Tweezers or a silicone picker for precise placement
- Clean cuticle pusher to smooth edges
- Quick-dry top coat for sealing
Tips for getting longer wear
Stickers typically adhere best to clean, dry nails. Lightly buffing the nail plate to remove oils before application can improve adhesion. Apply the top coat in thin, even layers and focus on sealing the free edge to reduce lifting. If you’re working on a client or preparing a set for an event, allow each top-coat layer to dry thoroughly before the next.
Removal and maintenance
When it’s time to change designs, remove stickers gently to avoid damaging the natural nail. Soaking in polish remover or using a cotton pad with remover can help loosen adhesive bonds before lifting. After removal, follow with a moisturizing treatment or cuticle oil to restore hydration to the nail plate and surrounding skin.
Who should consider these stickers
- DIY nail artists who want a quick decorative option without investing in stamping or hand-painting tools.
- Salon professionals seeking an economical accent element for themed sets or seasonal offers.
- Beginner technicians teaching clients simple, repeatable designs.
Care and safety notes
Keep stickers stored flat and away from direct heat or moisture to preserve adhesive performance. As with any cosmetic product, avoid contact with eyes and discontinue use if irritation occurs. Store out of reach of young children and pets.
Final thoughts
Butterfly nail stickers are an accessible, low-cost way to introduce a delicate motif into nail services and at-home manicures. They suit quick accenting, trialing a new look, or building themed sets without additional equipment. For a compact, budget-friendly decorative option, these stickers are a practical pick for salons and DIYers alike.