
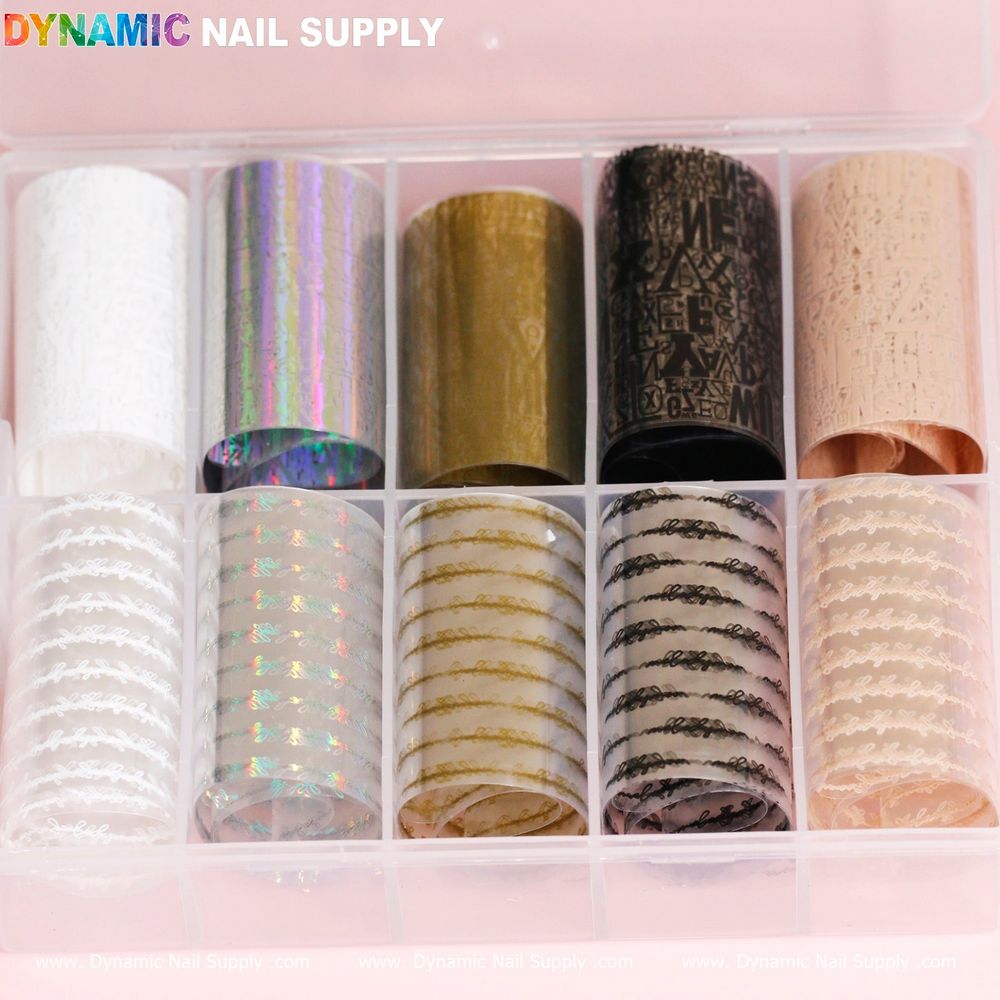
Letter nail art foils are an easy way to add personality, messages, or monograms to manicures without freehand lettering. With the right prep and technique you can get crisp, high-contrast letters that look professionally applied whether you’re working in a salon or at home.
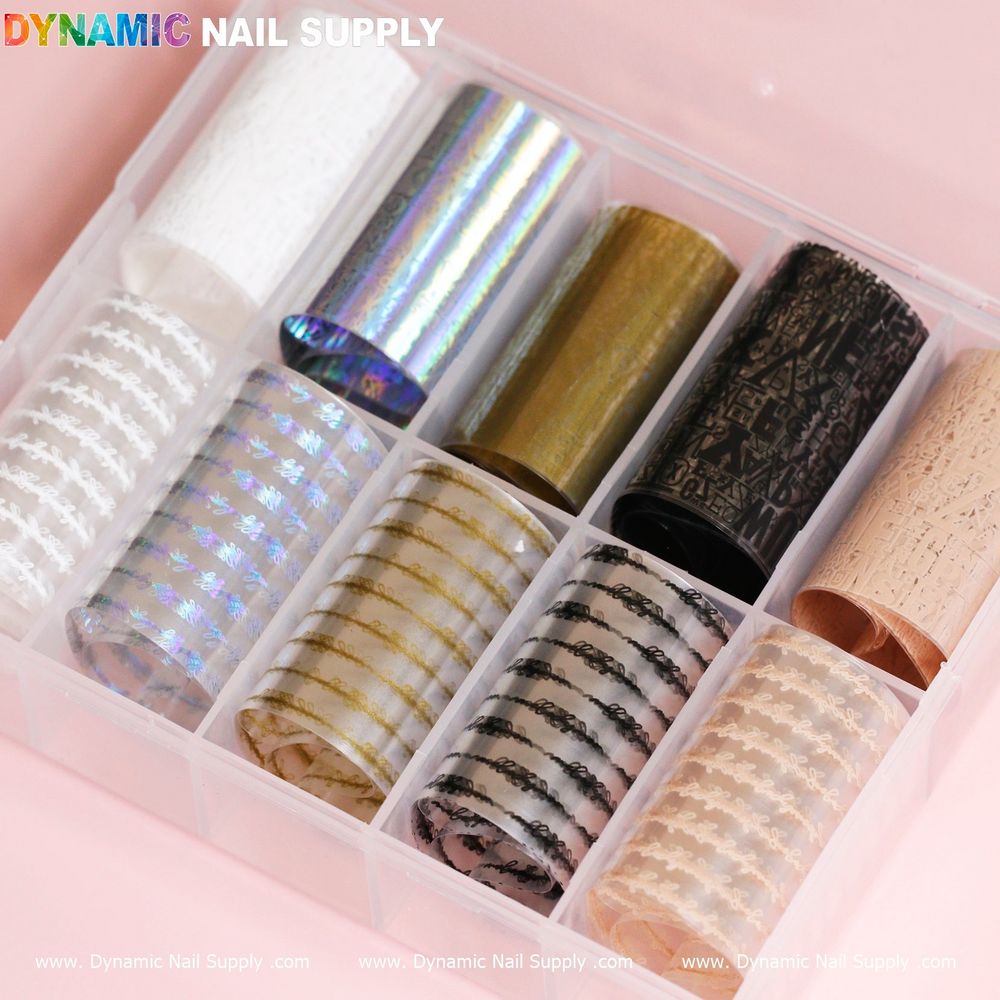
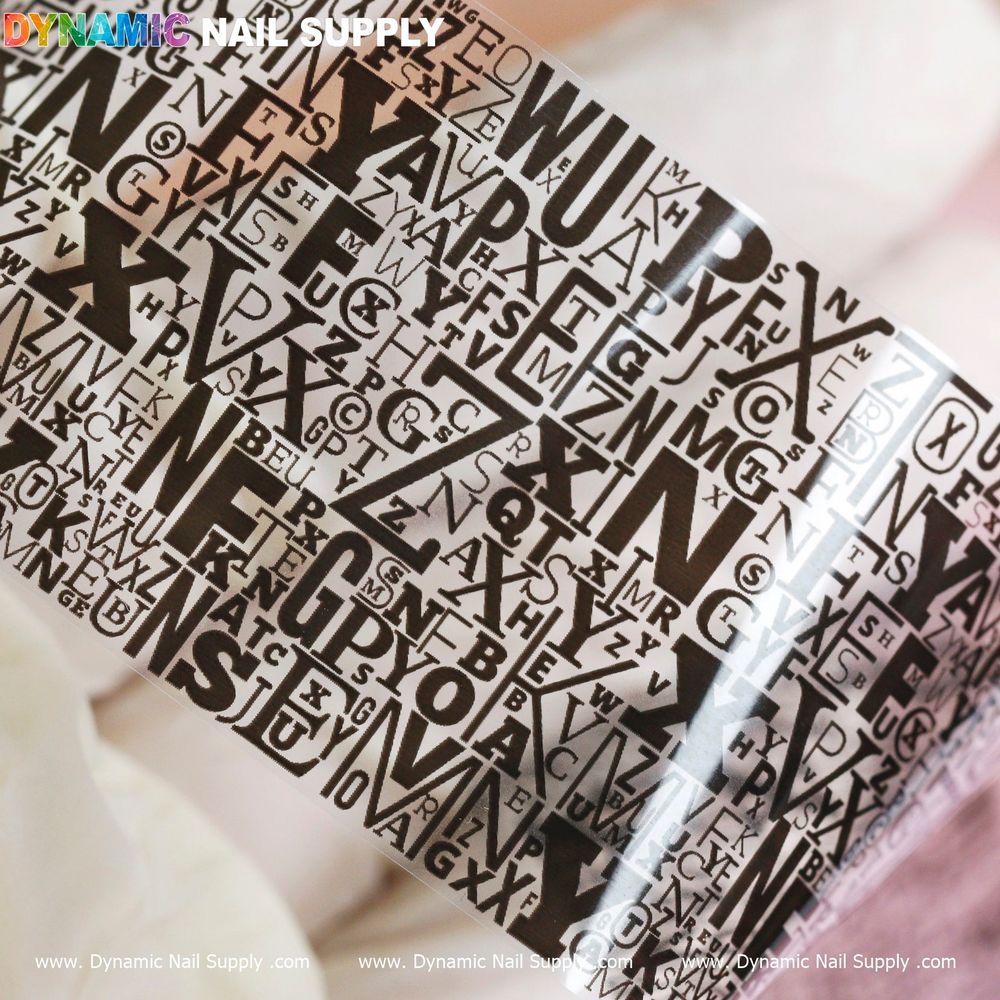
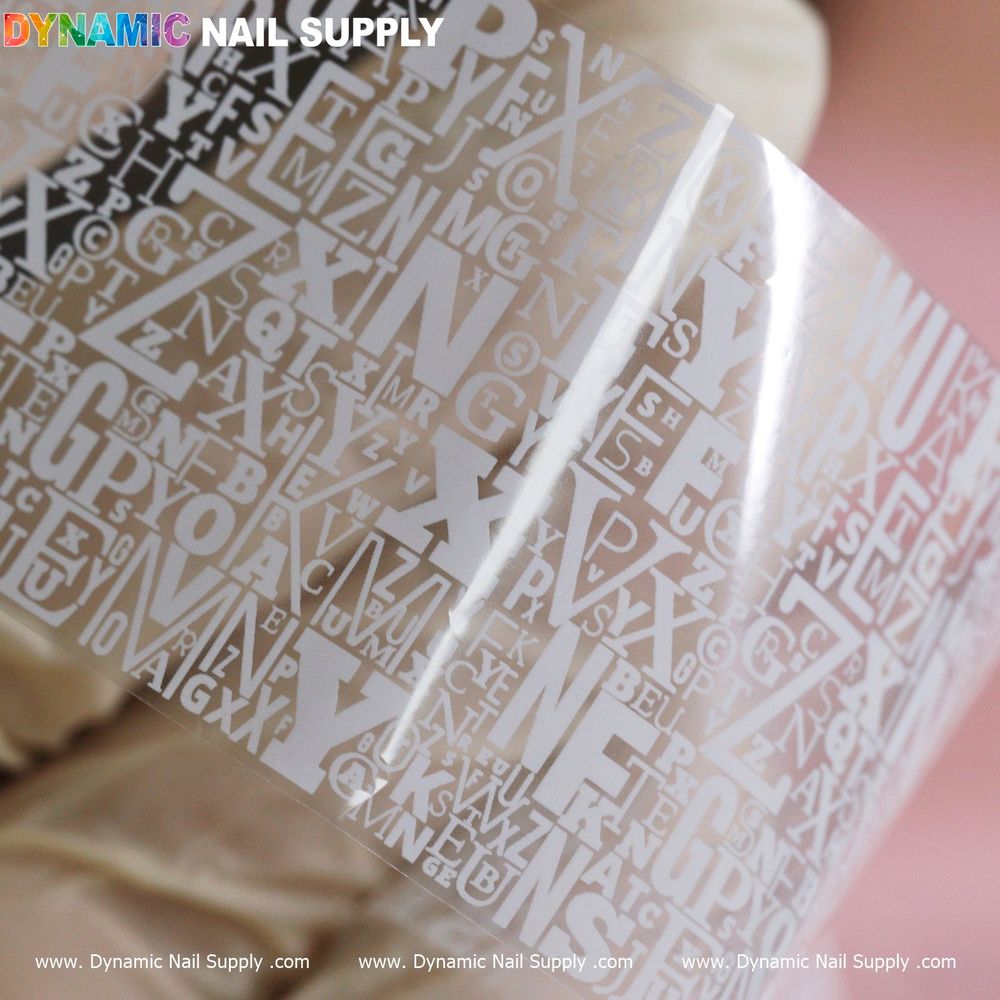
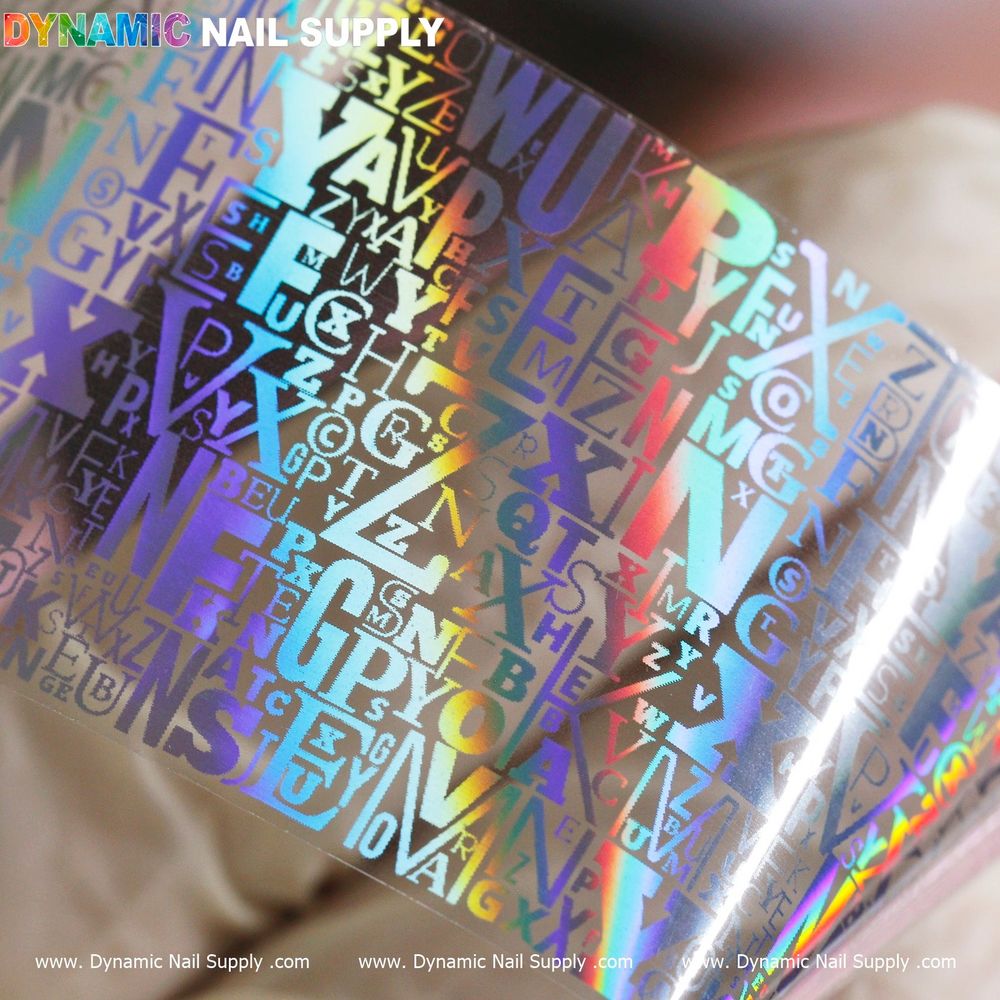
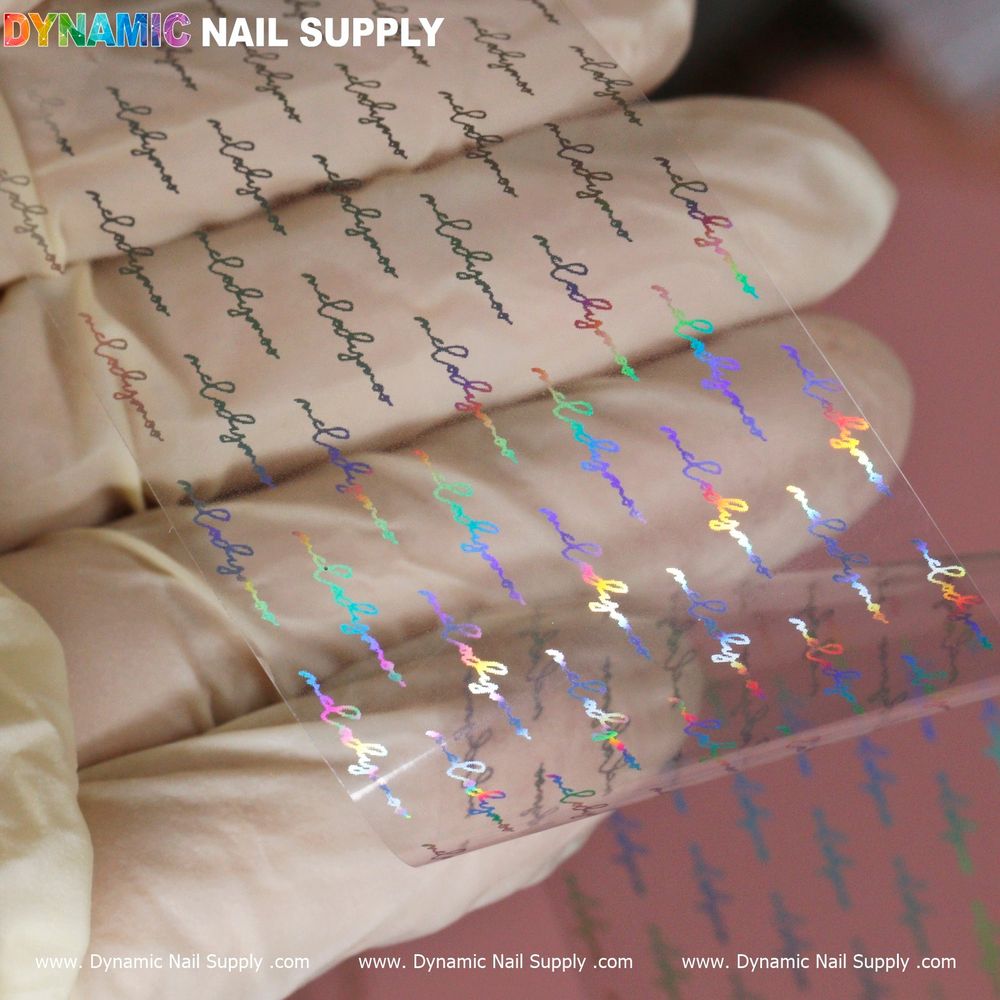
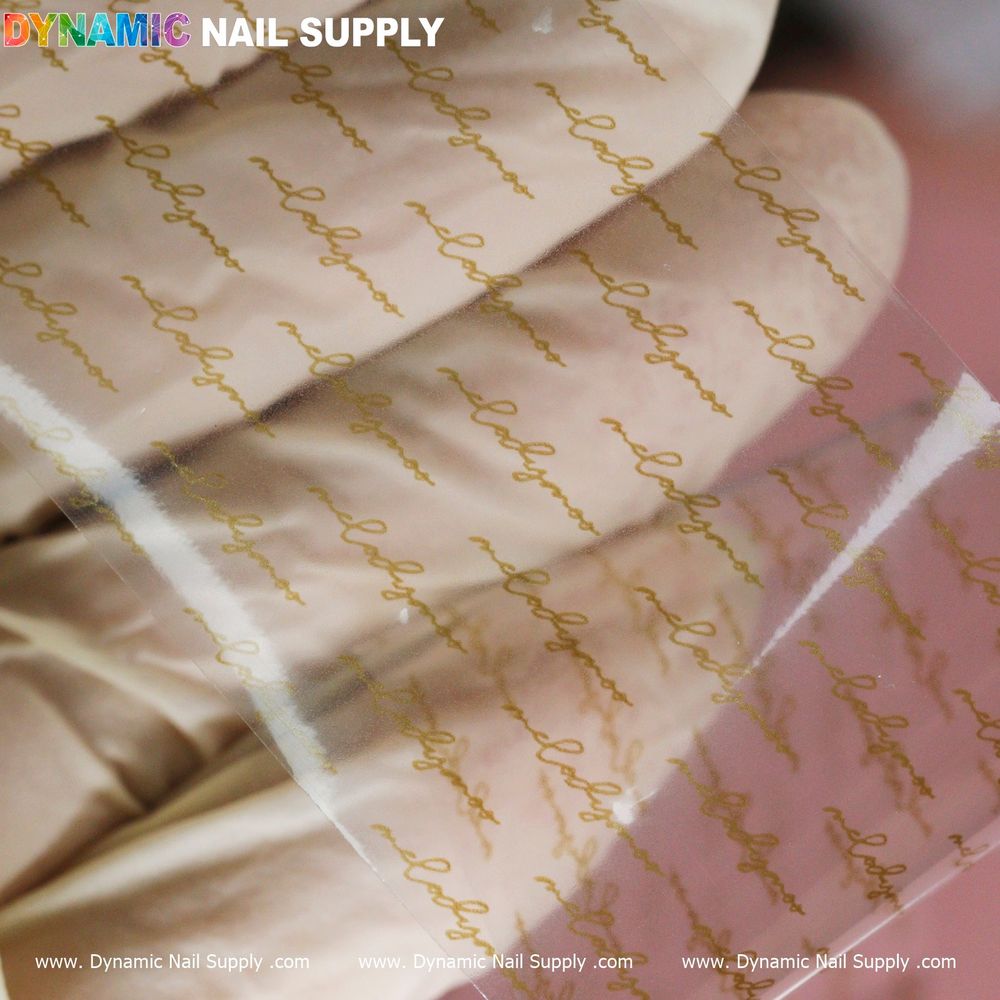
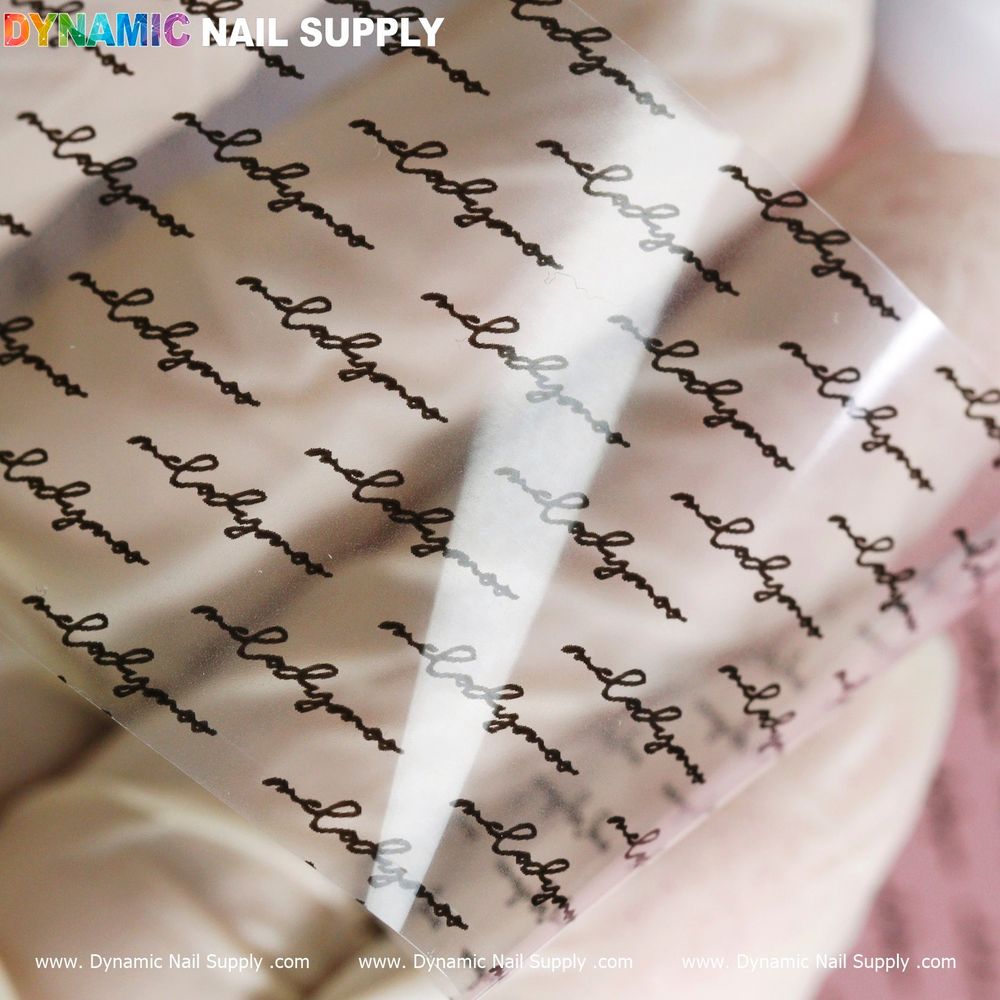
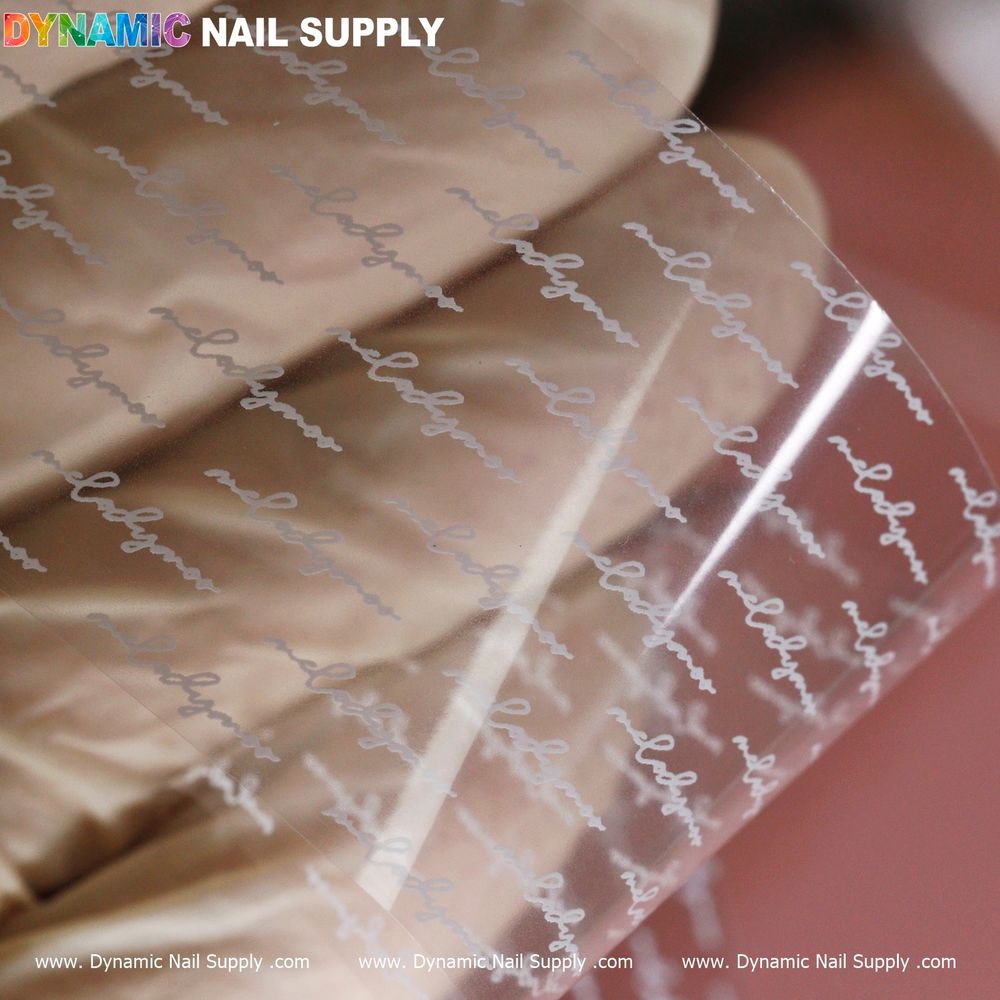
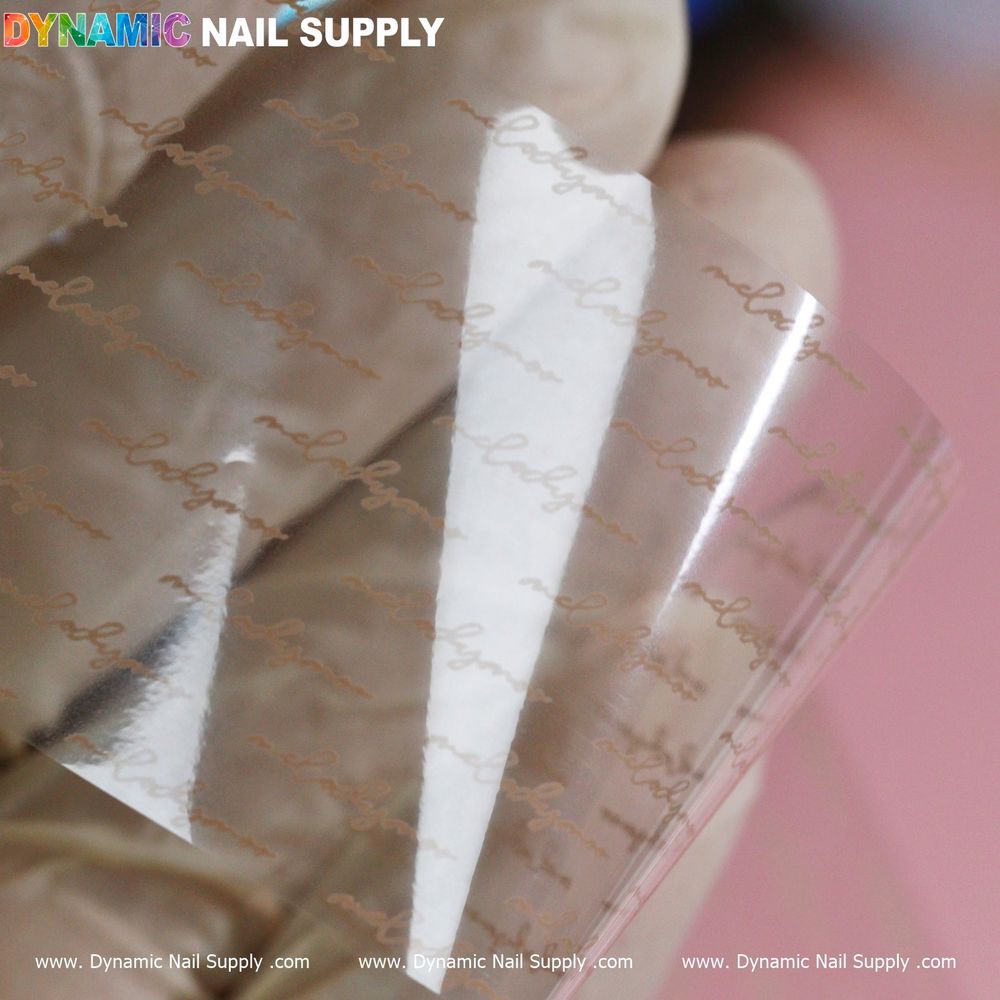
These design foils feature alphabet motifs for instant customization, and they’re sold in affordable sheets. If you want the exact sheet shown, check the Nail Foils – Letters option here: Nail Foils – Letters
Why choose letter nail art foils?
Alphabet foils let you combine typography with color and texture quickly. Instead of painting tiny letters by hand, you transfer pre-made lettering onto the nail for consistent results across multiple clients or manicures. They work as accents on a single nail, repeated across a set, or layered over gradients and metallic bases for contrast.
Essential prep for professional-looking transfers
- Start clean: remove polish, oils and residue so the foil has a dry, even surface to adhere to.
- Shape and buff lightly: refine the free edge and smooth the nail plate so the foil lays flat.
- Choose the right base: most foils transfer best over tacky top coat, foil glue, or a slightly sticky gel finish — test on a spare tip if you’re unsure.
- Plan placement: use a toothpick or small brush to mark where letters will sit before you transfer them.
Step-by-step application for crisp letters
- Apply base color (optional): allow the polish to dry until slightly tacky if using a regular top coat layer, or cure as directed for gel bases.
- Apply transfer medium: use foil adhesive or a sticky gel layer. Wait until it’s clear and tacky but not wet — this is the ideal moment to lay the foil.
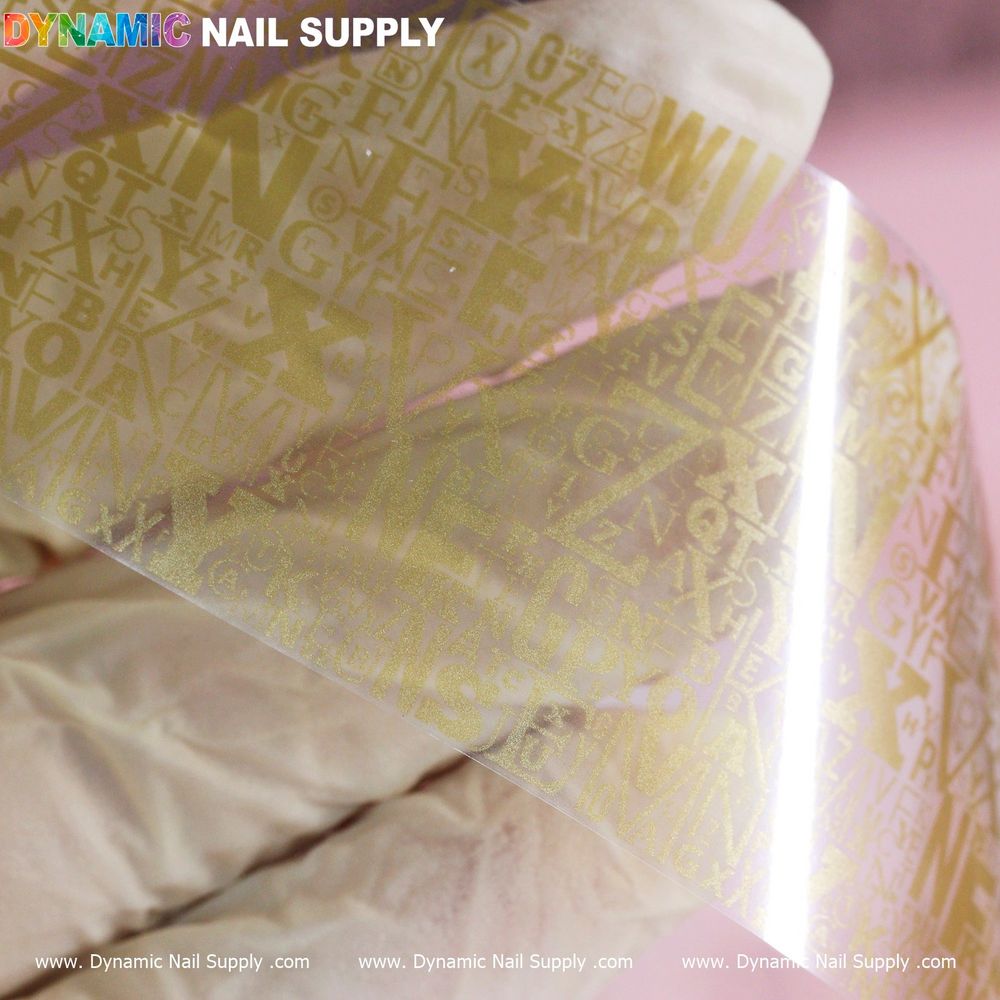
- Position the foil: cut a small piece that contains the letter you want. Place the patterned side down on the tacky area and press gently with a silicone tool, cotton swab, or finger to ensure even contact.
- Rub and lift: apply firm, even pressure across the letter for 10–30 seconds, then lift the foil slowly. The letter should transfer cleanly onto the nail.
- Seal the design: cap the edges with a compatible top coat—use a slick gel top coat for durability or a quick-dry lacquer for polish systems.
Creative layout and design tips
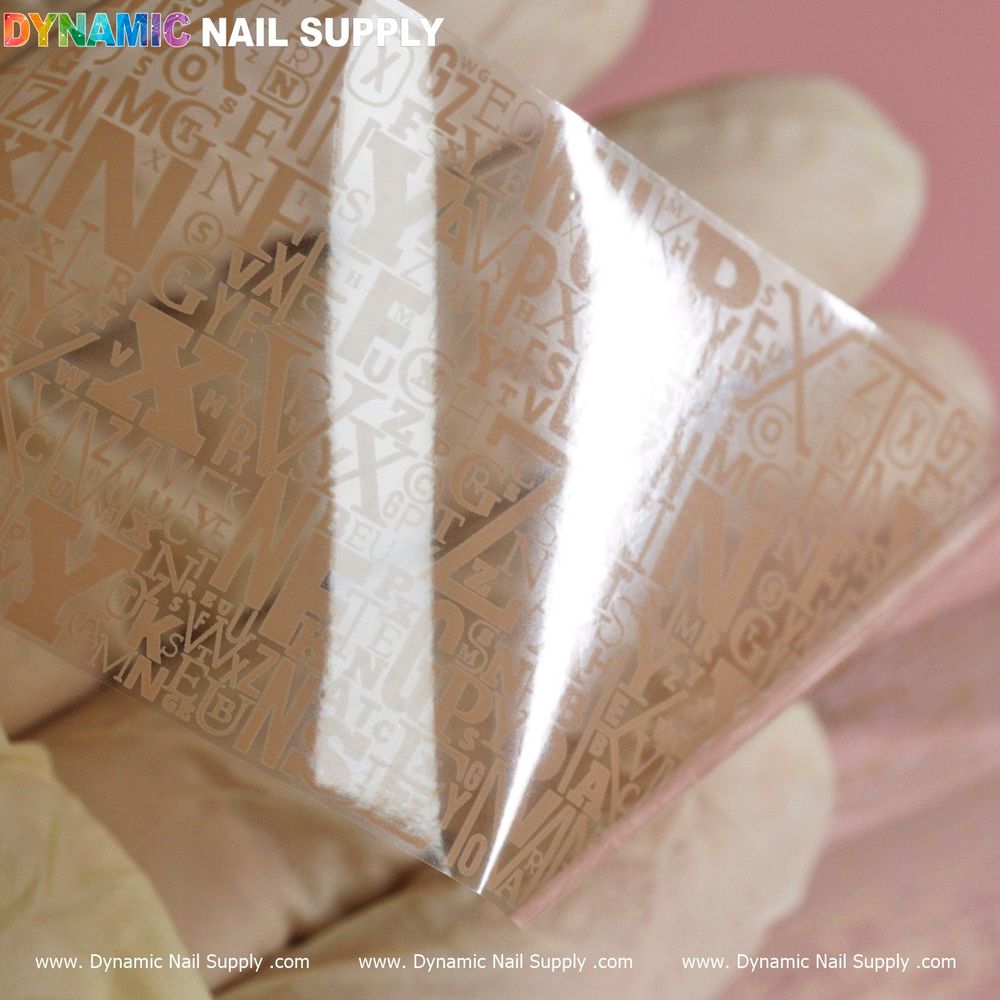
Letters allow for playful compositions beyond single initials. Try aligning letters vertically down the nail for a bold statement, or use scattered small letters as a confetti effect. For contrast, place dark letters over a pale base or metallic letters over matte polish.
Combine letters with shapes: place a tiny heart or star before or after a letter to create a monogram-like vignette. For multi-nail words, plan spacing so the full word is legible when the hand is relaxed.
Practical tips to avoid common problems
- Incomplete transfers: make sure the adhesive is tacky enough and press firmly across the whole letter before lifting.
- Wrinkling: work with smaller foil pieces for curved nails and smooth from the center outward to remove air pockets.
- Smudging: don’t top coat immediately over a fresh transfer that hasn’t set; allow the adhesive to fully adhere or cure the gel layer first.
Who should use letter nail art foils?
These foils are ideal for nail technicians who want fast, repeatable lettering options in a busy salon, as well as DIY enthusiasts aiming for professional-looking results at home. They’re also useful for special events—initials for weddings, names for team spirit, or short messages for seasonal looks.
Care and safety notes
Handle sheets carefully to avoid creasing the foil. Keep adhesive and top coats away from open flames and store products per their labels. If you’re using gel systems, follow curing instructions from your gel manufacturer. If you purchase from Dynamic Nail Supply, note that prices can vary; a typical sheet is listed at $6.00 but may change.
Finishing and maintenance for lasting wear
Finish with a full-coverage top coat and reapply top coat to worn edges during regular maintenance to prevent letter lifting. For clients who prefer a textured look, try a matte top coat over selective areas while leaving the letters glossy for contrast.
Letter nail art foils are a quick way to elevate manicures with clean typographic elements. With minimal tools, thoughtful placement, and correct sealing, you can achieve consistent, salon-quality results every time.